
Written by K2 Team Member and Hiking Expert - Kevin Reilly
‘What is the best boot to buy’?
This is a question we get asked a lot, both in-store and on social media.
The simplest answer is,
“The most comfortable boot that suits your needs.”
Where some people prefer light, low-cut footwear, others look for solid full support, sandals and even minimalist footwear. You may have ankles like solid tree trunks or are prone to roll yours regularly. Regardless of your preference, there is a style and fit of footwear to suit everyone.
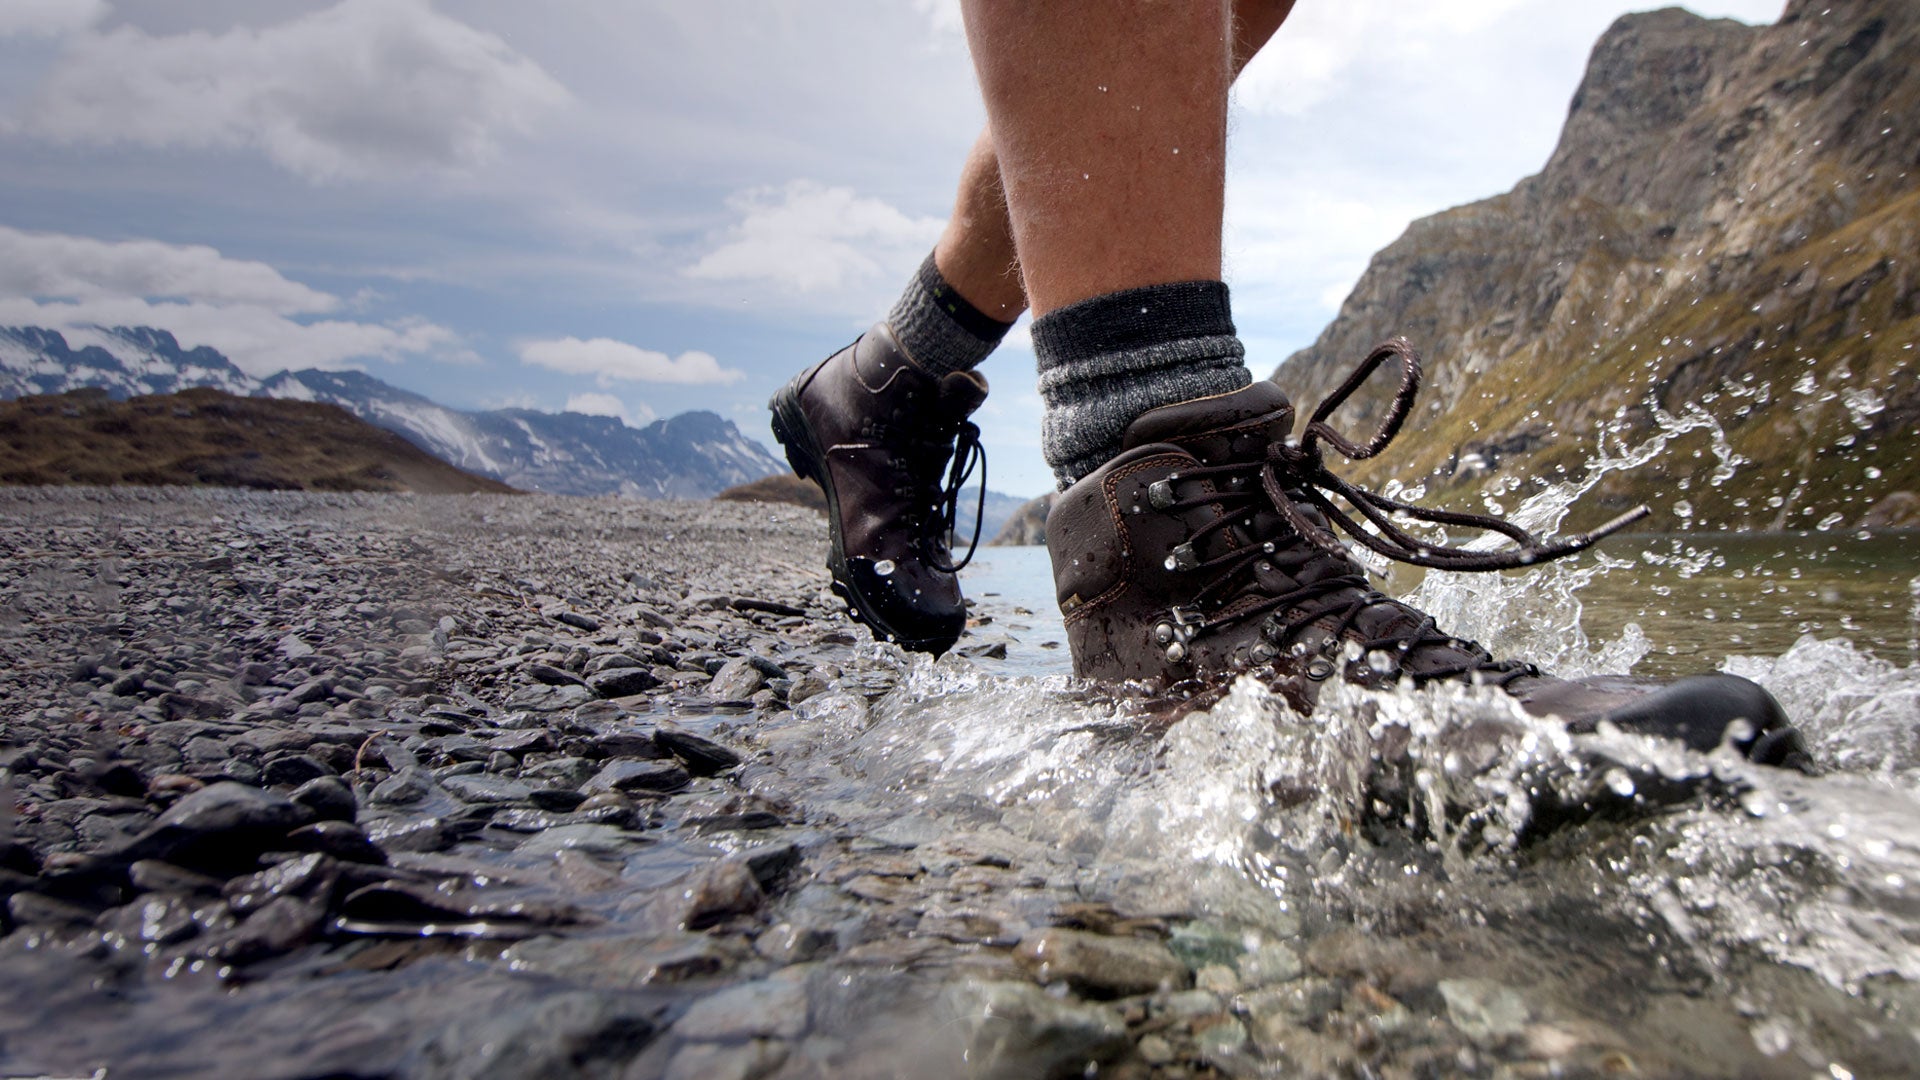
Why choose leather hiking boots?
For me, I like leather boots. Some call them traditional, but you could also say the same for Volleys!
When it comes to bushwalking, footwear is the most important purchase. I like to go on multi-day bushwalks, generally with a heavy pack. This generally means your muscles, tendons and feet can get sore and tired, and I have found that the support a leather boot gives is perfect. My footwear allows me to wake up each morning of the hike and do it all over again!
Leather hiking boots provide three main advantages:
- Support/stability
- Protection
- Longevity
I once walked 30km with a sprained ankle and felt next to no pain, all because the boot supported me so well. I would have likely snapped my ankle at the time if it weren’t for my boots.
How to choose the perfect pair
Make sure to plan with your purchase, as you and your boots need time to get to know each other. Boot fittings are serious business at K2 Base Camp. A 20 to 30-minute fitting is not uncommon for us to ensure you walk away with the right fit. The stiffness of a leather boot is intentional. It provides support and stabilises your feet as you walk. This is especially important when carrying heavily weighted packs over long distances.


Wearing in your Hiking Boots
If you aren’t sure how to wear in new hiking boots, remember that the leather needs to soften up in areas where the boot flexes. We all walk differently, so you and your boot need to get used to that. Be prepared for rubbing in some areas. If left unchecked, you could potentially develop hotspots or blisters on your feet. In these situations, Acti-Bliss and adhesive sports tape will become your best friend.
Leather Hiking Boot Care
Wearing my boots regularly has been the best thing for them. As leather moulds around your foot, the boot becomes more comfortable. Stashing them away in a cupboard is the worst thing you can do, so try to wear them as much as possible to take care of them.
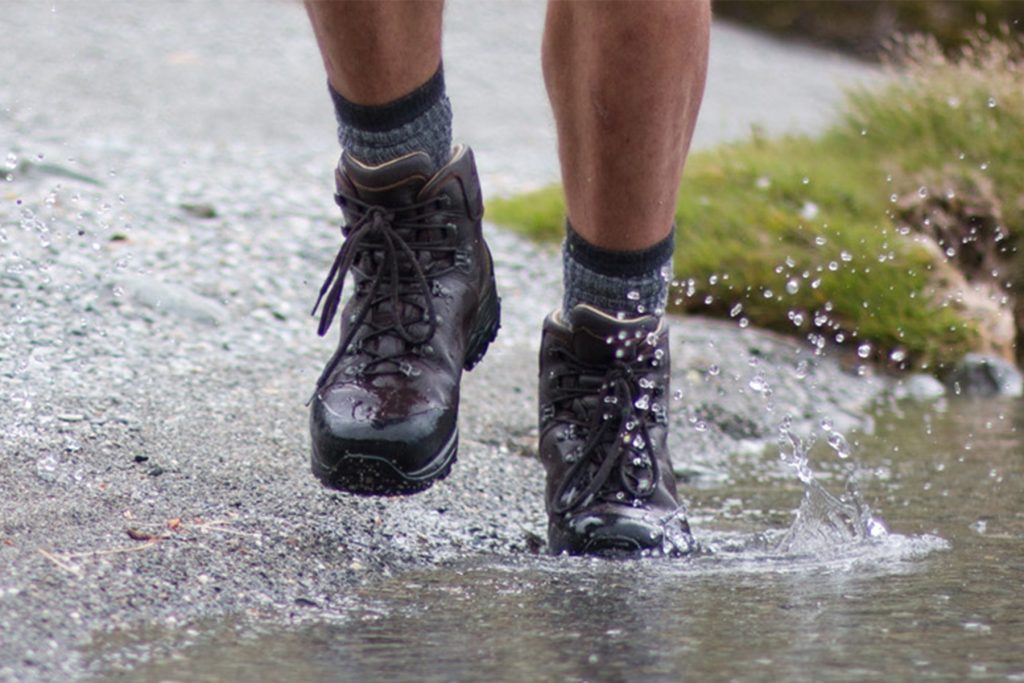
The leather protects your feet from harsh environments, and, when cared for correctly your boots will last much longer than those made of lighter materials. Boots made with natural leather are not rubber wellies! The leathers need to be cared for or it will end in tears!
If you have waterproof-lined boots, regular cleaning and proofing are vital. This allows the leather to breathe and function correctly. Beeswax and dubbin should not be used on these types of boots as this type of proofing blocks the pores of the leather and stops the boots breathing, literally putting plastic bags on your feet!
For waterproof lined boots, I would recommend Nikwax products. Their waterproofing wax combined with their Cleaning Gel does a great job of reviving my boots after trekking through some pretty harsh environments.
They are very easy to use:


The following guide outlines how to clean leather hiking boots and keep them in the best condition.
Step 1
Pull the laces out of your boots and wash them separately, as they tend to get grit and sand in them that will wear out the laces, when they come in contact with the boot eyelets.
Step 2
Wash all the mud/dirt from your boots, including the soles and remove any stones stuck in the tread. I recommend doing this with the boot upside down on one hand. This will stop water getting into the boot. Use Nikwax Cleaning Gel to get any ingrained dirt out of the leather ensuring everything is clean for the wax to be applied.
Step 3
Once clean, but while still wet, liberally apply the wax all over the leather surfaces. Pay extra attention to the seams as they can be weak points.
Step 4
Once the wax is applied, place your boots in a shady spot to dry and buff any excess off. Relace the boots once everything is dry and you are ready for your next adventure!
By following these simple steps, and walking regularly, you can ensure the longevity of your boots.
If you have any more questions about buying the perfect hiking boot, speak to one of our in-store outdoor adventure hiking experts, or you can email and call us!